The Little Wire!
A couple of weeks ago I ordered some stuff from Seedstudio and after a few days they
arrived! I brought a Bus Pirate (with some accessories like the LCD adapter) and the Little Wire kit. I will post another article about the Bus Pirate later on, but this post will just be on the Little Wire.
I found out about the Little Wire on Dangerous Prototypes and
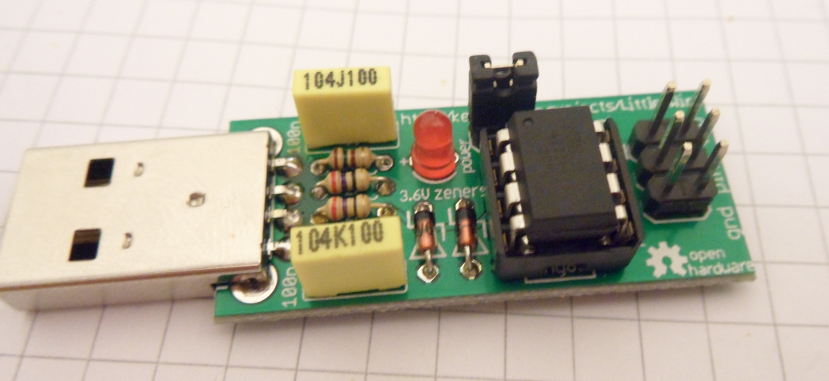
thought it looked really interesting and I got it while ordering the Bus Pirate. It’s a really tiny through-hole circuit board with an ATTINY85 device, an LED, some passives and a USB A connector. The on-board firmware allows you to control the IO pins of the MCU from a PC. The author of the kit has provided a lot of example software to show you how to use the kit.
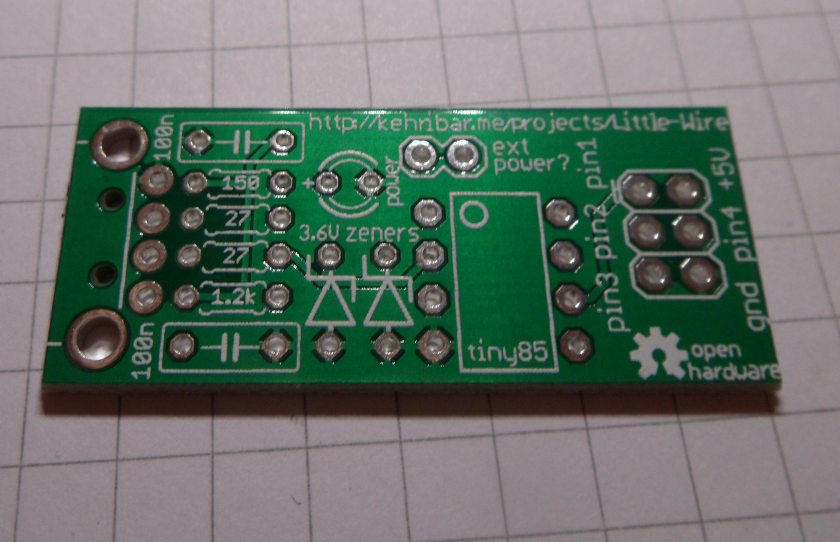
It comes as a kit of parts so it does require assembly, and it is really easy to put together as there are not many parts on it. Below is a photograph of the bare PCB before I started soldering it.
Assembly
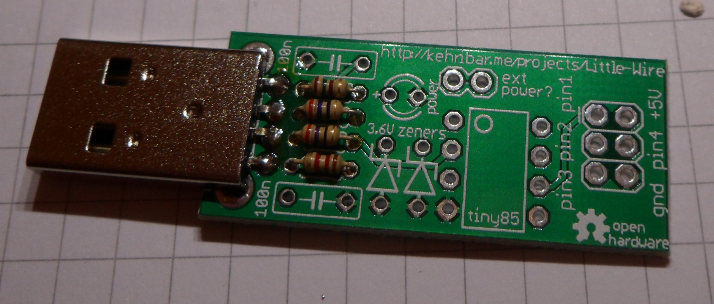
Assembly of the kit is really easy and quick. The first thing I soldered in were the resistors. There are four of them right next to the USB connector.
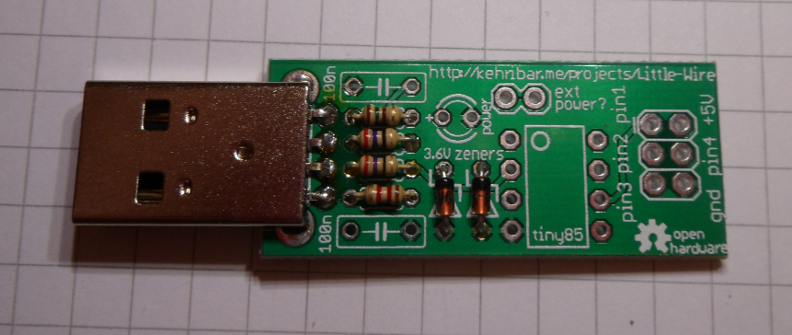
The next components are the two Zener diodes. These are necessary because the USB data lines D+ and D- are only designed to take 3.3V in and the ATTINY chip is powered by 5V. What the Zeners do is clamp the output of the ATTINY to 3V. Be sure to put them in the correct way around! The black ring signifies the Cathode of the diode.
The next items to go in are the chip socked, capacitors and the pin headers. Unfortunately I didn’t get a photo of these steps, but below is a photo of what the results look like.
Running the Blinky Demo
No that I have the board assembled I want to try it out! I cloned the GitHub repo which has the firmware and a collection of software you can run to interface to the board. Note that I’m using Ubuntu to run the software, your operating system may need different, and/or extra steps.
git clone git://github.com/littlewire/Little-Wire.git
The C and C++ libraries need libusb installed to compile and use them. If you don’t have libusb installed you can get it with this command
sudo apt-get install libusb-dev
Then you can make the software, in this case I’m running the C example programs. I found out that in I needed to run the example program as root in order for it to work. I am not sure why this is, it may have something to do with how libusb works. The Saleae Logic software also needs to be run as root as well.
make
sudo ./blink
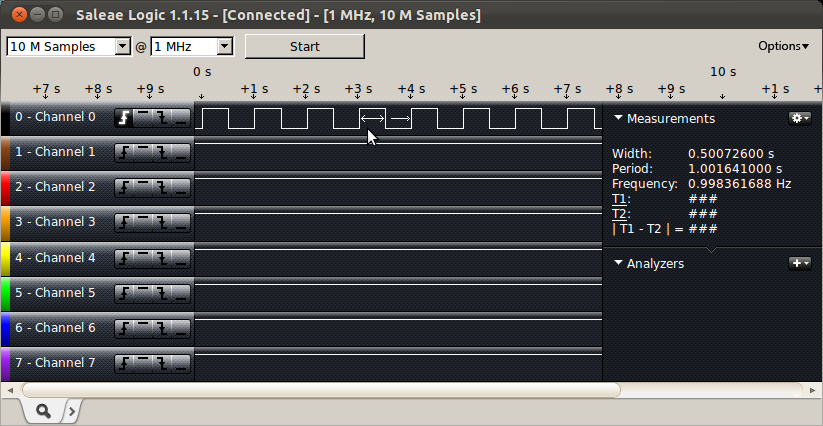
Pin 4 of the LittleWire will now be producing a roughly 1Hz square wave. Below is a screen shot of what the Saleae Logic analyser measured on Pin 4.
The End….
I’d like to do some more playing around with the Little Wire, I think it will be very useful. I’d like have a go programming an AVR using it. I’d like to play around with the processing code as well. I have also just found out that there is a Basic interpreter written for the Little Wire on GitHub so I think I’ll play around with that bit at some point as well.
electronics hardware kits oshw usb